


Feb 17, 2015 06:02 am / Posted by Diana Joan | Categories: Blu-ray
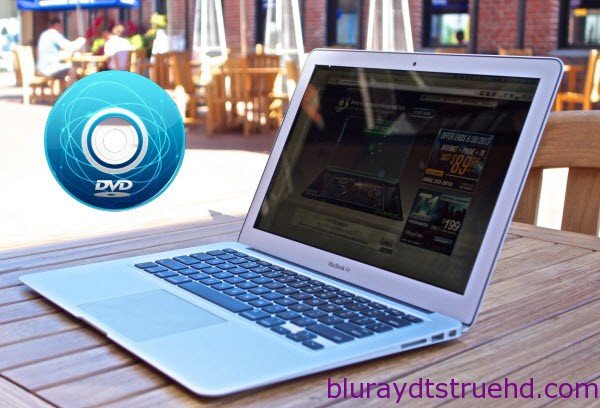
Some hardcore Apple fans are surely excited about some of the rumored products that are supposed to launch later this year, like the 12-inch Retina MacBook Air. The 12-inch MacBook Air might be targeting users who aren’t necessarily interested in a Pro experience and who might find a tablet even easier to use on the go. Do you want to know how to copy your DVD movies on your MacBook Air for conveniently playback instead of getting a $79 Apple USB SuperDrive for DVD playback or avoiding DVD scratch or damage?
As a matter of fact, with a DVD Ripper for MacBook Air- Pavtube BDMagic for Mac, you can rip and copy your DVD as well as Blu-ray to Retina MacBook Air MP4, MOV, M4V, etc. on Mac OS X (including Mac OX 10.9 Mavericks and the Mac OS X 10.10) with excellent and unmatchable ripping-converting speed while preserving HD quality. And with the disc copy feature, you not only can copy the full DVD disc, but also can copy the main movies without any extras on Mac as you want.
What’s more, it even has the knack for ripping DVD to MacBook (including the 2014 MacBook Pro), iMac, Mac Mini, MKV, AVI, FLV, MP4, WMV, etc and converting DVD to iPad Air 2, iPhone 6/5S/5C, iPad Mini 3 with Retina, Galaxy S5, Surface Pro 3, PS4, and so on for on-the-go playback without a hitch. Now watching DVDs on Mac platform is just a piece of cake.
Download DVD Ripper for MacBook Air


Copy DVD to the 12-in MacBook Air with Retina Display
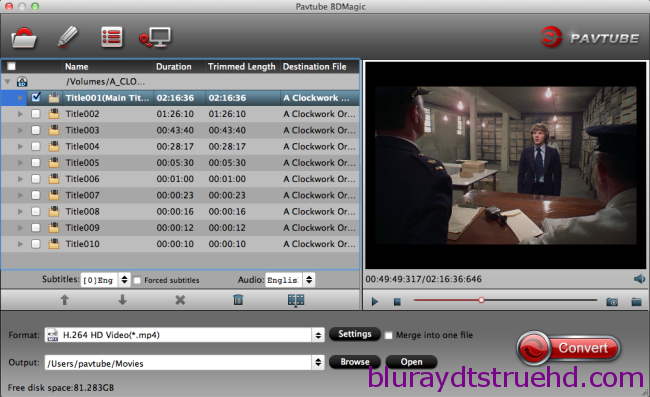
Step 1. Load DVD to the software
Insert the DVD disc to DVD drive as the source file. Launch the top DVD to MacBook Air Ripper; click the disc button to load the entire DVD disc for ripping.
Tip: If you have backed up the entire DVD disc on hard drive with Video_ts file structure, you can also load the DVD folder for conversion.
Step 2. Choose output format
Click the Format bar and follow Common Video; MP4, MOV, M4V… are all the popular output formats for you. This Mac DVD Riper also has 150+ presets for almost all popular multimedia devices. You are allowed to choose one device as the output format as well.

Tip: The DVD movie has more than one audio tracks and subtitles. You can choose your preferred one from the “Subtitles”, “Audio” options retained in the output video to watching DVD with subtitles.
Step 3. Adjust video and audio settings (Optional)
This DVD Converter allows users to adjust video and audio parameters to customize the output file quality. Click “Settings” button and then you can adjust video resolution, frame rate, bit rate, audio channel, etc.
Step 4. Start ripping DVD to 12-inch MacBook Air
Click “Convert” button to start converting DVD movie on Mac. After conversion click “Open” to find converted movie, and then you can play the output video on your 12-inch MacBook Air or sync to iPad, iPhone, upload to YouTube, Vimeo freely.
For windows users, turn to Pavtube BDMagic for ripping your DVDs. And here is the way for changing your DVD Region Code on Windows.
Related Articles
Hot Articles & Reviews
- Best 5 Reasons to Copy DVD
- Review of Best DVD Disc Backup Software
- Review of Best ISO Ripper
- Best DVD to MP4 Ripper Mac
- Best Free DVD Region Killer
Any Product-related questions?


Leave a reply